Feeds:
Posts
Comments

Archive for the ‘Canning’ Category

This recipe makes a great “base” soup. It is good to open and eat as is, add more vegetables for a heartier soup, or add egg noodles for a delicious chicken noodle soup.

Start by cooking 2-3 pounds of chicken. This can be a whole chicken, parts, or boneless chicken.20160212_135744

Or use leftover cooked chicken 20160212_135832

While your chicken is cooking, cut up about 2 cups each celery, onions, and carrots.20160212_135732

Once the chicken is done, add the vegetables, salt, pepper and any other seasonings to taste. Bring to a boil and cook about 30 minutes.20160212_141210

While the  vegetables are cooking, wash jars (quart or pint) and pour boiling water over them. When the vegetables are ready, fill jars and wipe rims with a papertowel dampened with vinegar. Add lids and seal finger-tight.20160212_154939

Pressure 11 pounds (depending on altitude) for 90 minutes for quarts or 75 minutes for pints.20160212_204759

Check to make sure the jars have sealed.

Follow your canner’s instructions for how-to specifics.

Read Full Post »

A couple of weeks ago when I canned chicken, chicken stock and chicken soup I saved all the chicken bones to make chicken broth. I used the bones, onion, carrot and celery scraps, along with 3-4 bay leaves, some roasted garlic and salt and pepper. I let this simmer around 24 hours in the crock pot.

20150813_101503

I strained it and let it sit in the fridge for a day or two to let the fat solidify so I could get it off. Since this would only make a few pints, I froze the broth until I had time to make beef broth.

This week I made beef broth exactly the same way I made the chicken, except using beef bones. Oh, and I added a couple of tablespoons of vinegar to help extract the marrow from the bones.

20150826_205558

After about 24 hours I strained it

20150827_100003

Then let sit to solidify the fat.

20150827_114158

Yesterday I heated the beef broth in one pot and the chicken broth in another, filled pint jars, and since all meat broth cans at the same amount of time, I canned them at the same time, 20 minutes @ 11lb pressure.

Beautiful!

20150829_154047

Read Full Post »

A few weeks ago our local grocery store had chicken breasts on sale for 99 cents a pound. I bought several packages and stuck them in the freezer. I also had a couple of whole chickens taking up space, so I decided this week to can chicken.

I let the chicken thaw in the refrigerator and then cooked it, picked it off the bone, and reserved the stock in gallon jars.

20150813_100316The next day I removed the fat from the chilled stock and canned half of it. I heated about 2/3 of the chicken in part of the reserved stock and added carrots, onions and celery to the other 1/3 chicken and stock for soup. I also added salt and pepper to taste and a couple of bay leaves for the soup.

20150813_101450While this was cooking, I took the chicken bones, scraps of carrots, onions, celery, along with some garlic and bay leaves and placed them in my crockpot for making chicken broth.

20150813_101503

(I let this cook for about 24 hours, then strained and refrigerated to let the fat come to the top.)

Once the plain chicken was hot, I filled hot jars, wiped the rims with a vinegar-dampened paper towel, then sealed.

20150813_114318By that time the veggies were soft in the soup, and I filled jars with soup.

20150813_114917

Together I had 7 quarts – a full “turn”. I pressured these at 11 lbs (for our altitude) and cooked 90 minutes (the correct time for meats).

These will go a long way this winter!

20150813_151027If you have any questions on canning chicken feel free to comment or e-mail me.


Read Full Post »

I’m finally getting around to sharing my recipe for chili with meat. It’s a busy time of year and every nook and cranny of time filled in with stuff to do, but this recipe is definitely worth doing!

First let me say that every canning recipe I share has been cross referenced with trusted canning authorities books and university websites. Follow the directions and they’ll be safe.

My favorite “go-to” books are the trusted “Ball Blue Books” and this book, which is where I found the basic chili recipe.

20150726_214442I often say that “a recipe is merely a suggestion” but when it comes to canning, I’m much more careful.

The chili recipe in the book says to brown your ground beef in the stockpot where you’re going to cook the chili and then drain the grease off, but I brown my meat separately. So – start with 5 lb ground beef (chuck or round – or even turkey) and cook thoroughly.

20150723_113916 When the meat is done, drain the grease off.

20150723_152835 (I doubled the recipe and browned about 10 lb of ground chuck.)

While the meat is cooking begin to cook onions, celery, garlic, sweet peppers, and jalapeno peppers in a small amount of olive oil. The amounts depend on whether you like your chili hot or mild.

Next add either canned tomatoes or fresh peeled tomatoes to pot (approx 2 qts-worth of tomatoes per “recipe”).

Add spices to taste – approx 1/4 cup chili powder, 1 tbsp cumin, 1 tbsp oregano, 1 tbsp salt, cayenne powder or hot pepper flakes. Cook until tomatoes are well done, then add meat.

20150723_152854 The recipe call for cooking 20 minutes, but I simmer mine at least a couple of hours or longer if I have time.

Fill hot jars with chili, leaving 1″ headspace. Wipe rims with a papertowel dampened with white vinegar. Seal and process 90 minutes @11lb pressure (or the correct pressure for your altitude). Follow all basic canning directions for details.

1437965203268 I forgot to take a picture of the final product, but took this picture which included my next project – peaches!

My “double recipe” of chili yielded 13 quarts and 1 pint and a half jar (might have had a full quart if I hadn’t “taste-tested” quite so much! ☺)

This can be used “as-is” or add beans. It is a super-quick and delicious meal anytime you want chili. (It’s extra good with my home-made hot tamales. I’ll add directions for those soon).

If you have questions, please let me know.


Read Full Post »

Note: I have cross referenced the ingredients in this recipe in the Ball Complete Canning Book with tested and approved recipes for safety.


We use a lot of spaghetti/pasta sauce in our house for all kinds of pasta as well as pizza and even for sloppy joes. Since I keep ground beef pre-fried in the freezer, this makes for very quick meals.

Begin by washing ripe tomatoes (any type will work, although “paste-type” tomatoes take less time to cook down thick).

All ingredient amounts are dependant on the amount of tomatoes you have.

Chunk up tomatoes in a large pot or dishpan. No need to peel.

In a separate bowl peel and cut up 1-2 large sweet onions, 2-3 sweet bell peppers, 1 large jalapeno (unless you’d like more and be sure to wear gloves while cutting up hot peppers) and 1 bulb of garlic per stockpot amount of tomatoes.

Pour about 2-3 tbsp olive oil in a large stockpot. Add onions and garlic and cook until soft. Add tomatoes a few at a time and mash or crush up to create liquid to prevent sticking. Add peppers and more onions if desired. Add 2-3 tbsp or up to 1/4 cup dried basil, oregano, and parsley.

Cook on med-low until everything is very well cooked.

(Note – I really like roasted peppers in this, but don’t always have fresh peppers and have to use frozen peppers from the previous year, or, if I have fresh ones, I don’t have time to roast them

20150718_134748After tomatoes are cooked, run through foodmill to remove seeds and skins.

20150721_170142Return mixture to stove to cook step two. Take 1-2 cans (12 oz) tomato paste, 1/2 cup olive oil and about 1 cup of tomato mixture and blend together in a stainless steel or glass bowl. When well blended, add to the pot of tomatoes.

20150721_170557Add 4-5  bay leaves.

20150721_170948Next add sugar and salt and black pepper. For a large pot, start with 1/8 cup salt and 1/4 cup sugar and then add to your taste.

20150721_171055             This step takes lots of spoons!

Cook until sauce is as thick as you want, or depending on how long you have – 2-5 hours.

20150721_175707For thus particular batch, I had 3 huge pots of sauce.

To process this sauce you can actually choose between waterbath or pressure canning. If you waterbath you MUST add 2 tbsp of lemon juice per quart or 1 tbsp per pint. (It does not affect the taste). Fill hot jars, wipe rims, add lids and w/b 50 minutes for quarts and 40 minutes for pints.

To pressure can you can omit the lemon juice. Pressure quarts 25 minutes and pints 20 munutes  @11lb pressure (depending on your altitude).

For these three pots of sauce I had 12 quarts and 1 pint of sauce.

20150722_095801

To use add cooked beef, sausage, meatballs, cheeses, vegetables or whatever you like. This is the best sauce recipe I’ve found to date.

Feel free to comment, ask questions or share.

Read Full Post »

Usually beet pickles are the first thing of the canning season, however this year my beets have not done so well. I’ll be surprised if I get 2-3 pints. Oh well.

However, I have decided to share my beet pickle recipe contained in the story of how we made them. I hope you enjoy it. (Like this story? It could end up in a book. Let me know what you think.)

Making Beet Pickles

My mother was born in 1919 and Daddy in 1922. They grew up in very poor homes in a very poor era in our nation’s history. But, living in a rural area, they were never hungry. Big gardens and a household of kids to help work it helped many families to survive a time when many others were going to bed hungry. My grandparents believed that God gave them three seasons of the year to prepare for the fourth and most difficult – winter. Each season brought its peak fresh fruits and vegetables which were enjoyed as well as preserved for later. Before electricity was available in their areas, my grandparents canned, pickled, and brined meats and vegetables – mostly vegetables – as meat was a rare treat, except for breakfast sausage and bacon. Occasionally there was a Sunday chicken dinner, however chickens were far too valuable as egg producers to kill and eat.

The main staple in our family was pinto beans and cornbread. The thing that brought the meal variety was the always present pods of hot peppers and the endless jars of pickles. There were beet pickles, bread and butter pickles, sweet pickles, dill pickles and of course the pickle relishes made up of the dips and dabs of leftover vegetables. I can’t remember a time when summer and fall did not mean canning, pickling, preserving and drying our garden produce as well as fruits, nuts and other wild treats such as muscadines or huckleberries. However, trying to do all this without running water was a challenge (to say the least).

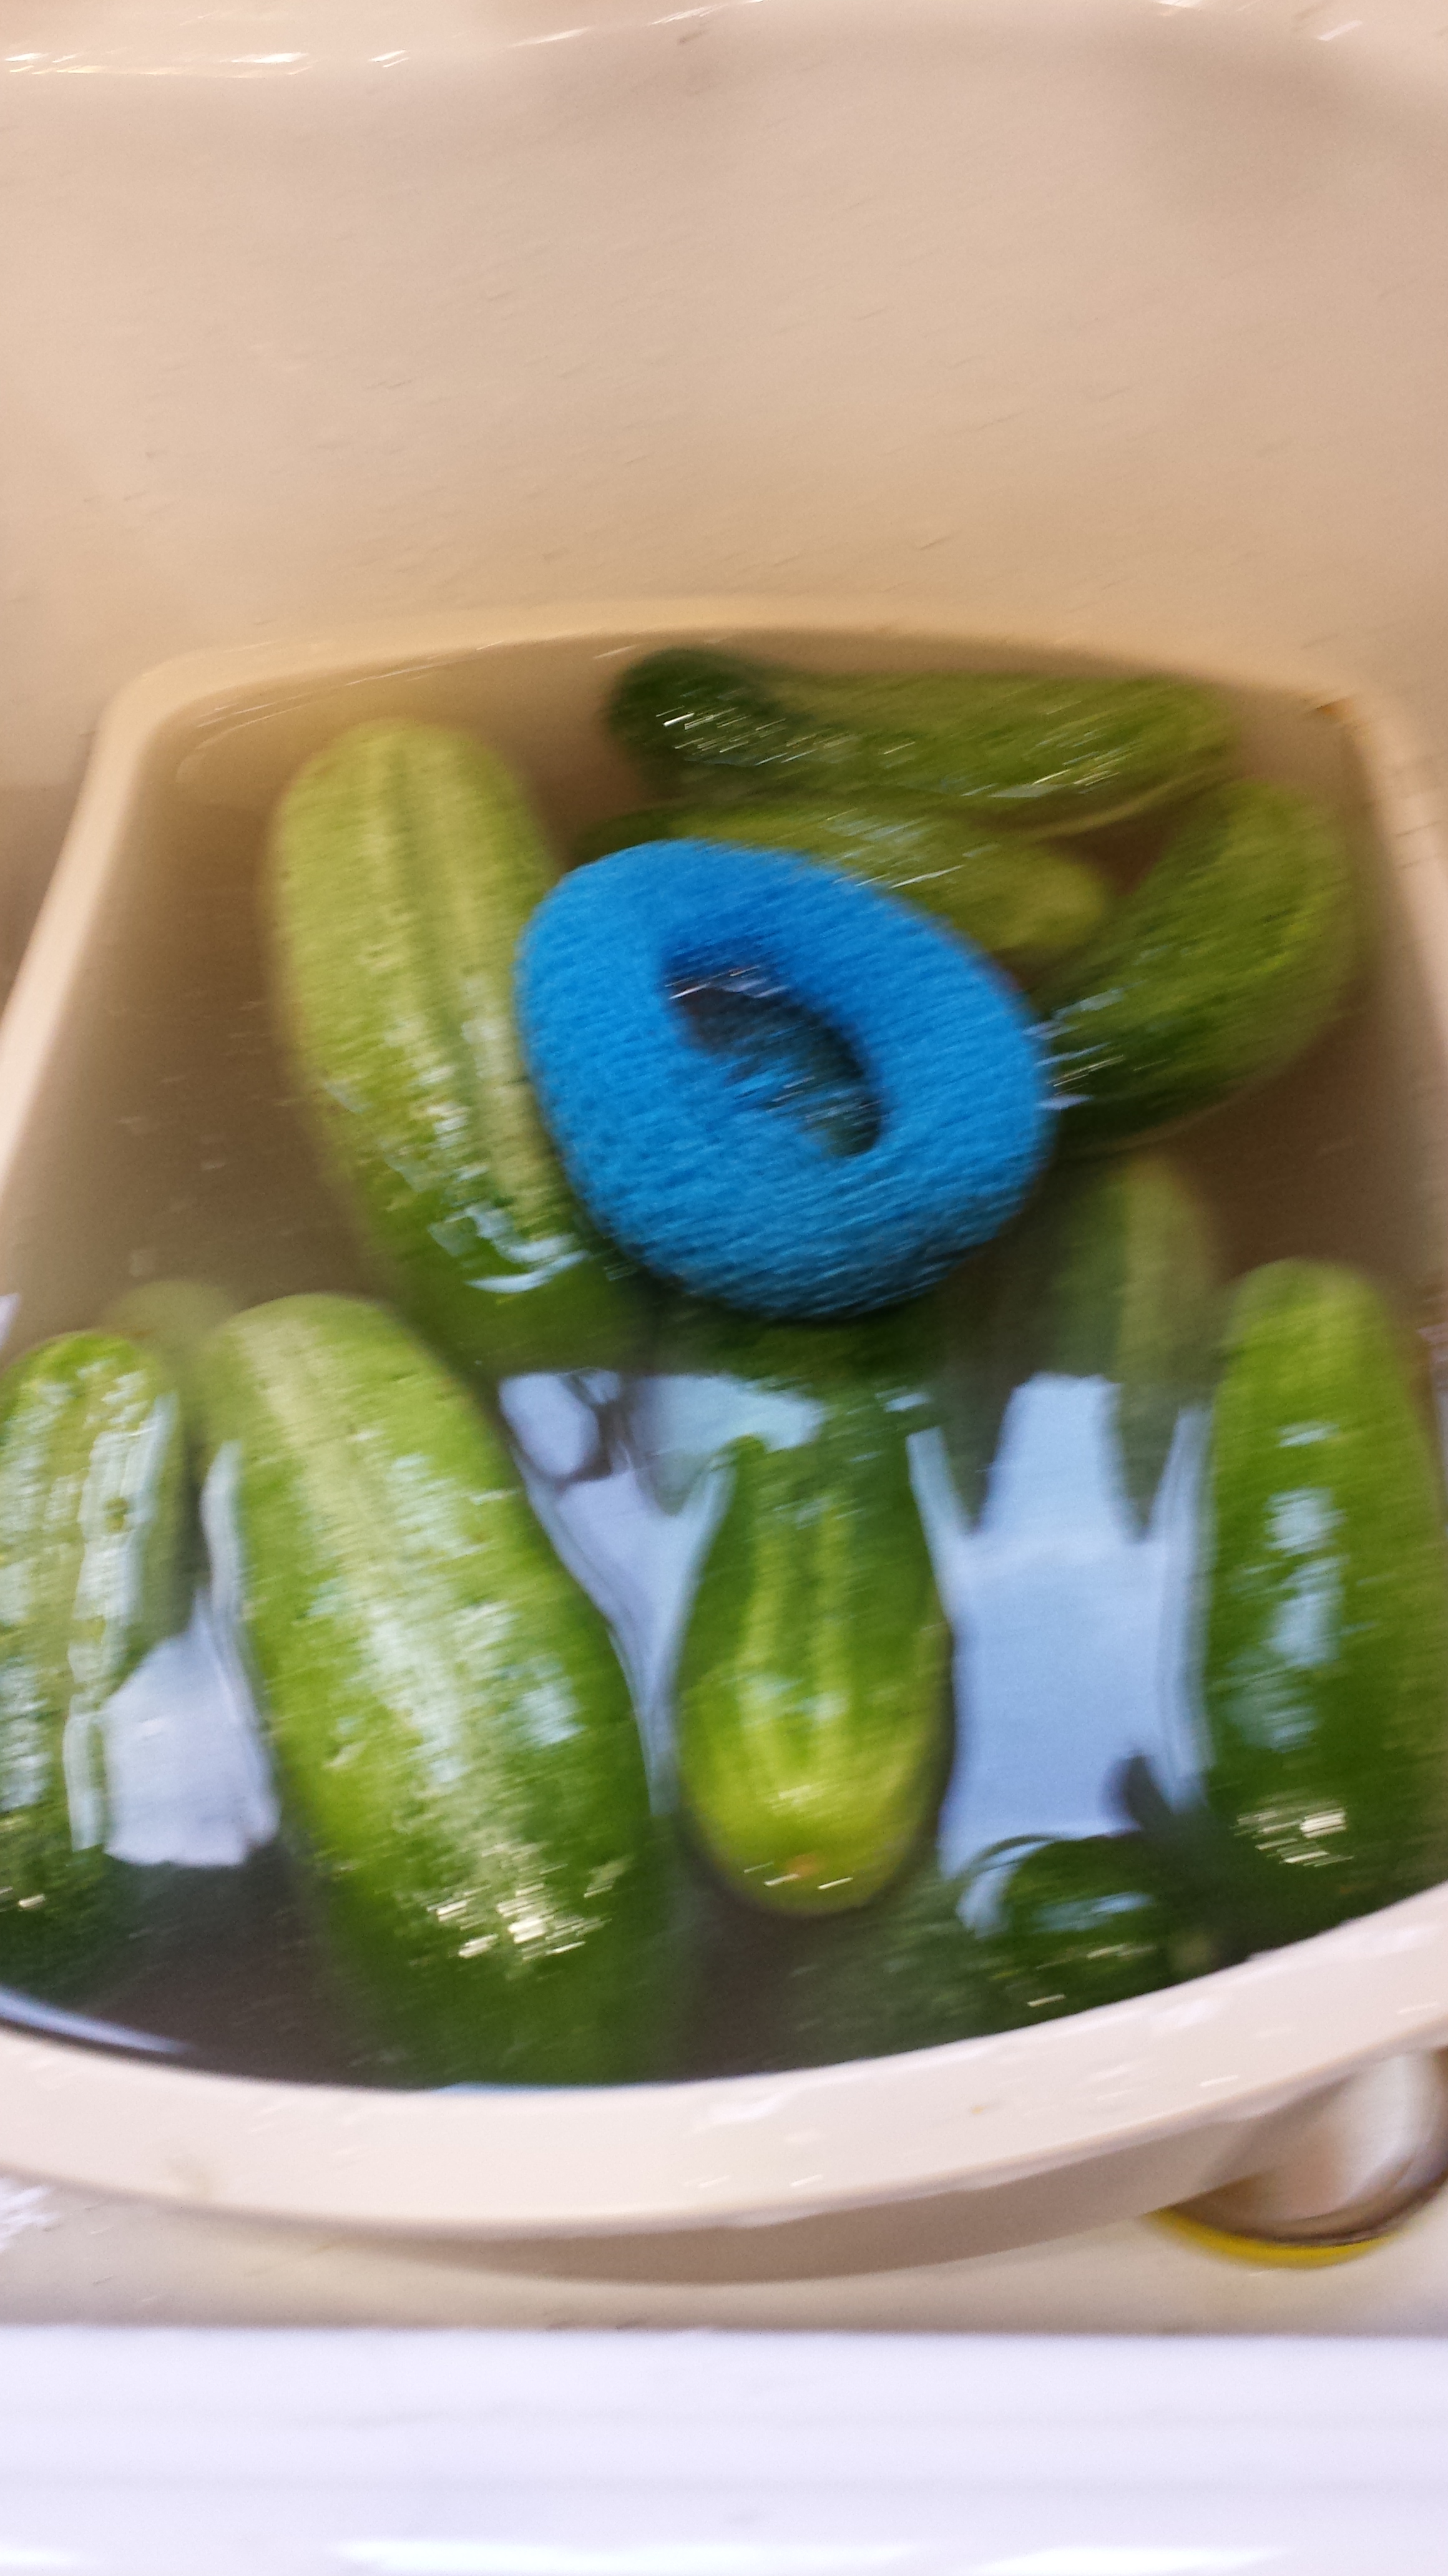
My first memory of “helping” during canning season was washing mason jars in a washtub in the backyard. As jars were emptied throughout the year, they were placed in the root cellar where, by the next summer they would be dirty and filled with an assortment of dead bugs. First they were rinsed out and then put into washtubs filled with rain water where they would sit until the sun warmed the water. The jars would be washed and then taken into the house where they would be washed again and sterilized with boiling water for the canning process. I don’t know how much actual help a 5 year-old could be, but we were taught early that everyone helped. As a child however, the most exciting time of canning came when it was time to make beet pickles! Beets were usually the first crop available from the garden, and like Memorial Day heralds the unofficial beginning of summer to many people, pickling beets was our signal that the canning season was upon us

Making the Beet Pickles

            Pull the beets from the garden when they are about the size of a golf ball or a tennis ball, of course there will also be some that are the size of walnuts and marbles (the little ones are my favorite). Next, cut the green tops off, leaving about 2” of the stem and the entire tap root. (Cutting these off will cause the beet to “bleed out” leaving a pale, anemic looking beet). The beets are then washed thoroughly and cooked in a huge pot until they are barely “fork done”. And then comes the fun part – the peeling!

To peel the beets, Mother would drain the boiling water off and then pour the beets out of that pot into a pot of cold water out in the backyard. After they cooled enough to handle, we would peel them by slipping the skins off. It still brings a smile to my face today as I “squirt” the beets through my hands, sliding the peelings off into the water. Naturally, as kids, it became a thing of hilarity as we shot beets at one another in the backyard! I’m amazed that mother ended up with enough beets to last us through the winter – or maybe the “beet wars” are just another thing that has grown in our minds over the years. At any rate, pinto beans, pickled beets and cornbread remains one of my favorite meals to this day!

The Recipe

Pull, wash, cook and peel beets, cutting the tops and roots off. Cut the beets into chunks and leave the small ones whole.

Using a large stainless steel pot, make a mixture starting with 3 cups of cider vinegar, 2 cups of water and 1 cup of sugar, then adjust for taste and amount of beets. Add about 2 tbsp pickling spices, either in a cheese cloth or loose, depending on whether you want your spices left in the pickles. (We prefer them left in). Add the beets to the liquid mixture.

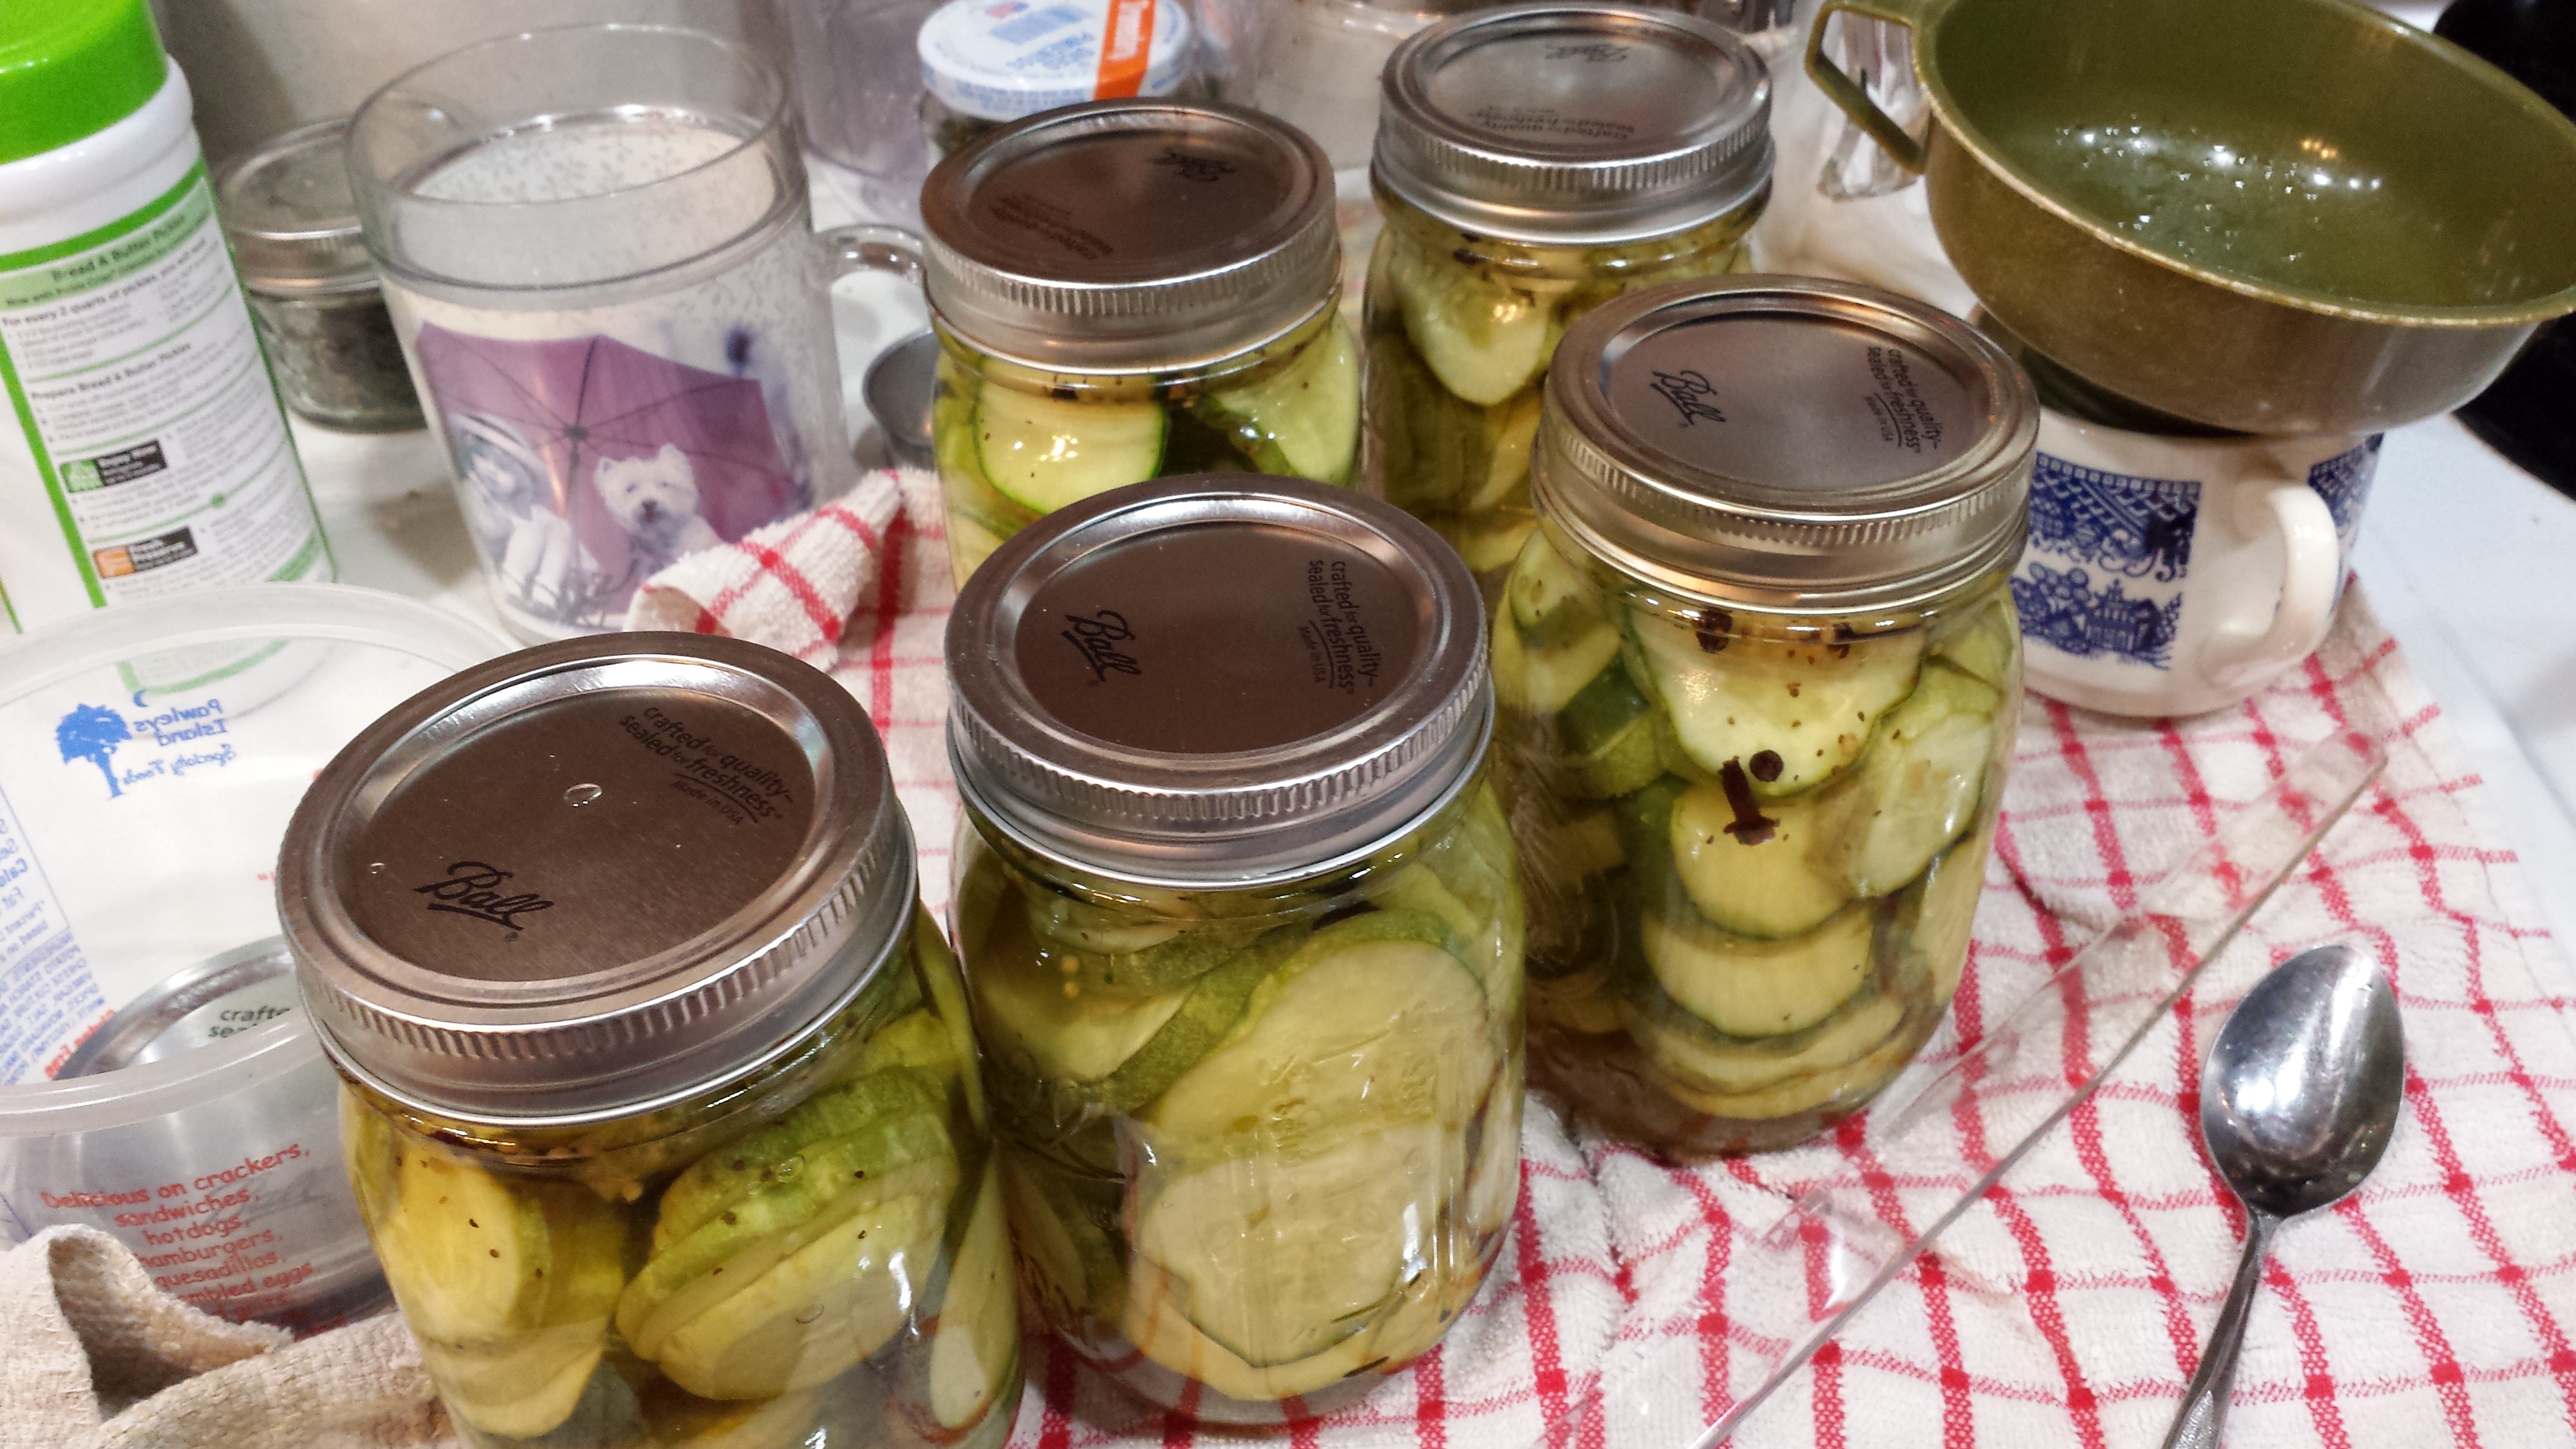
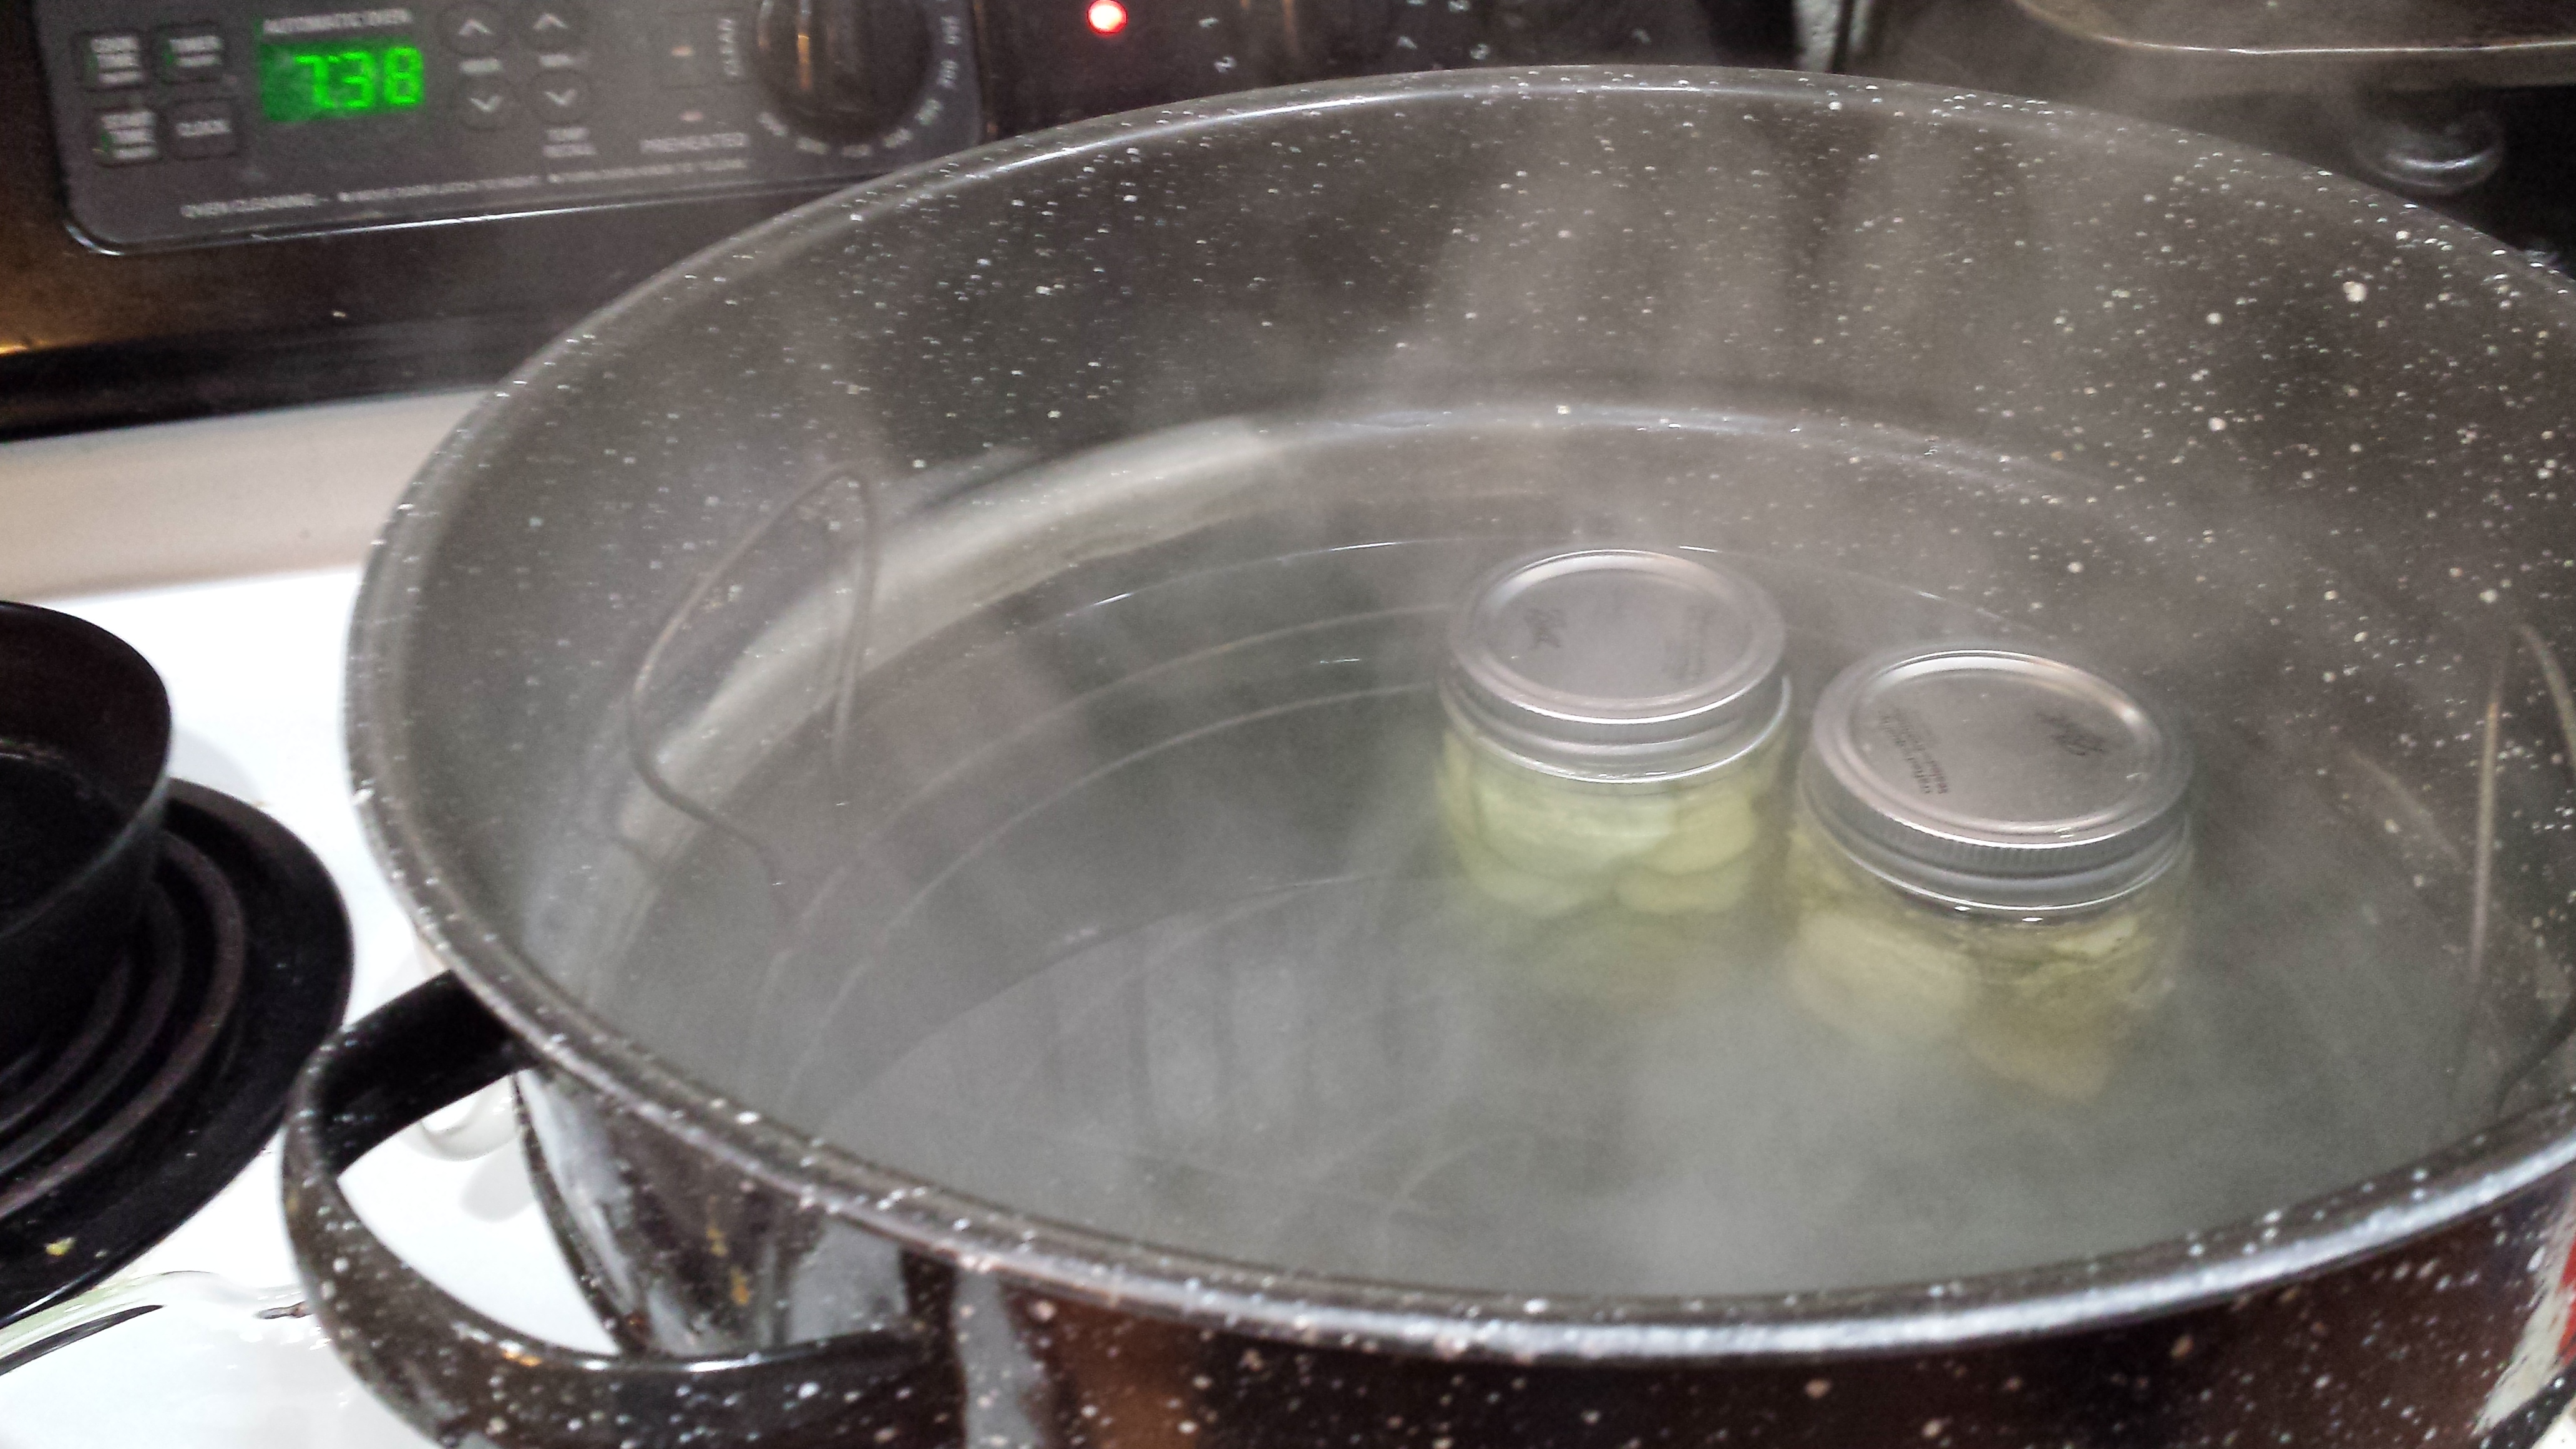
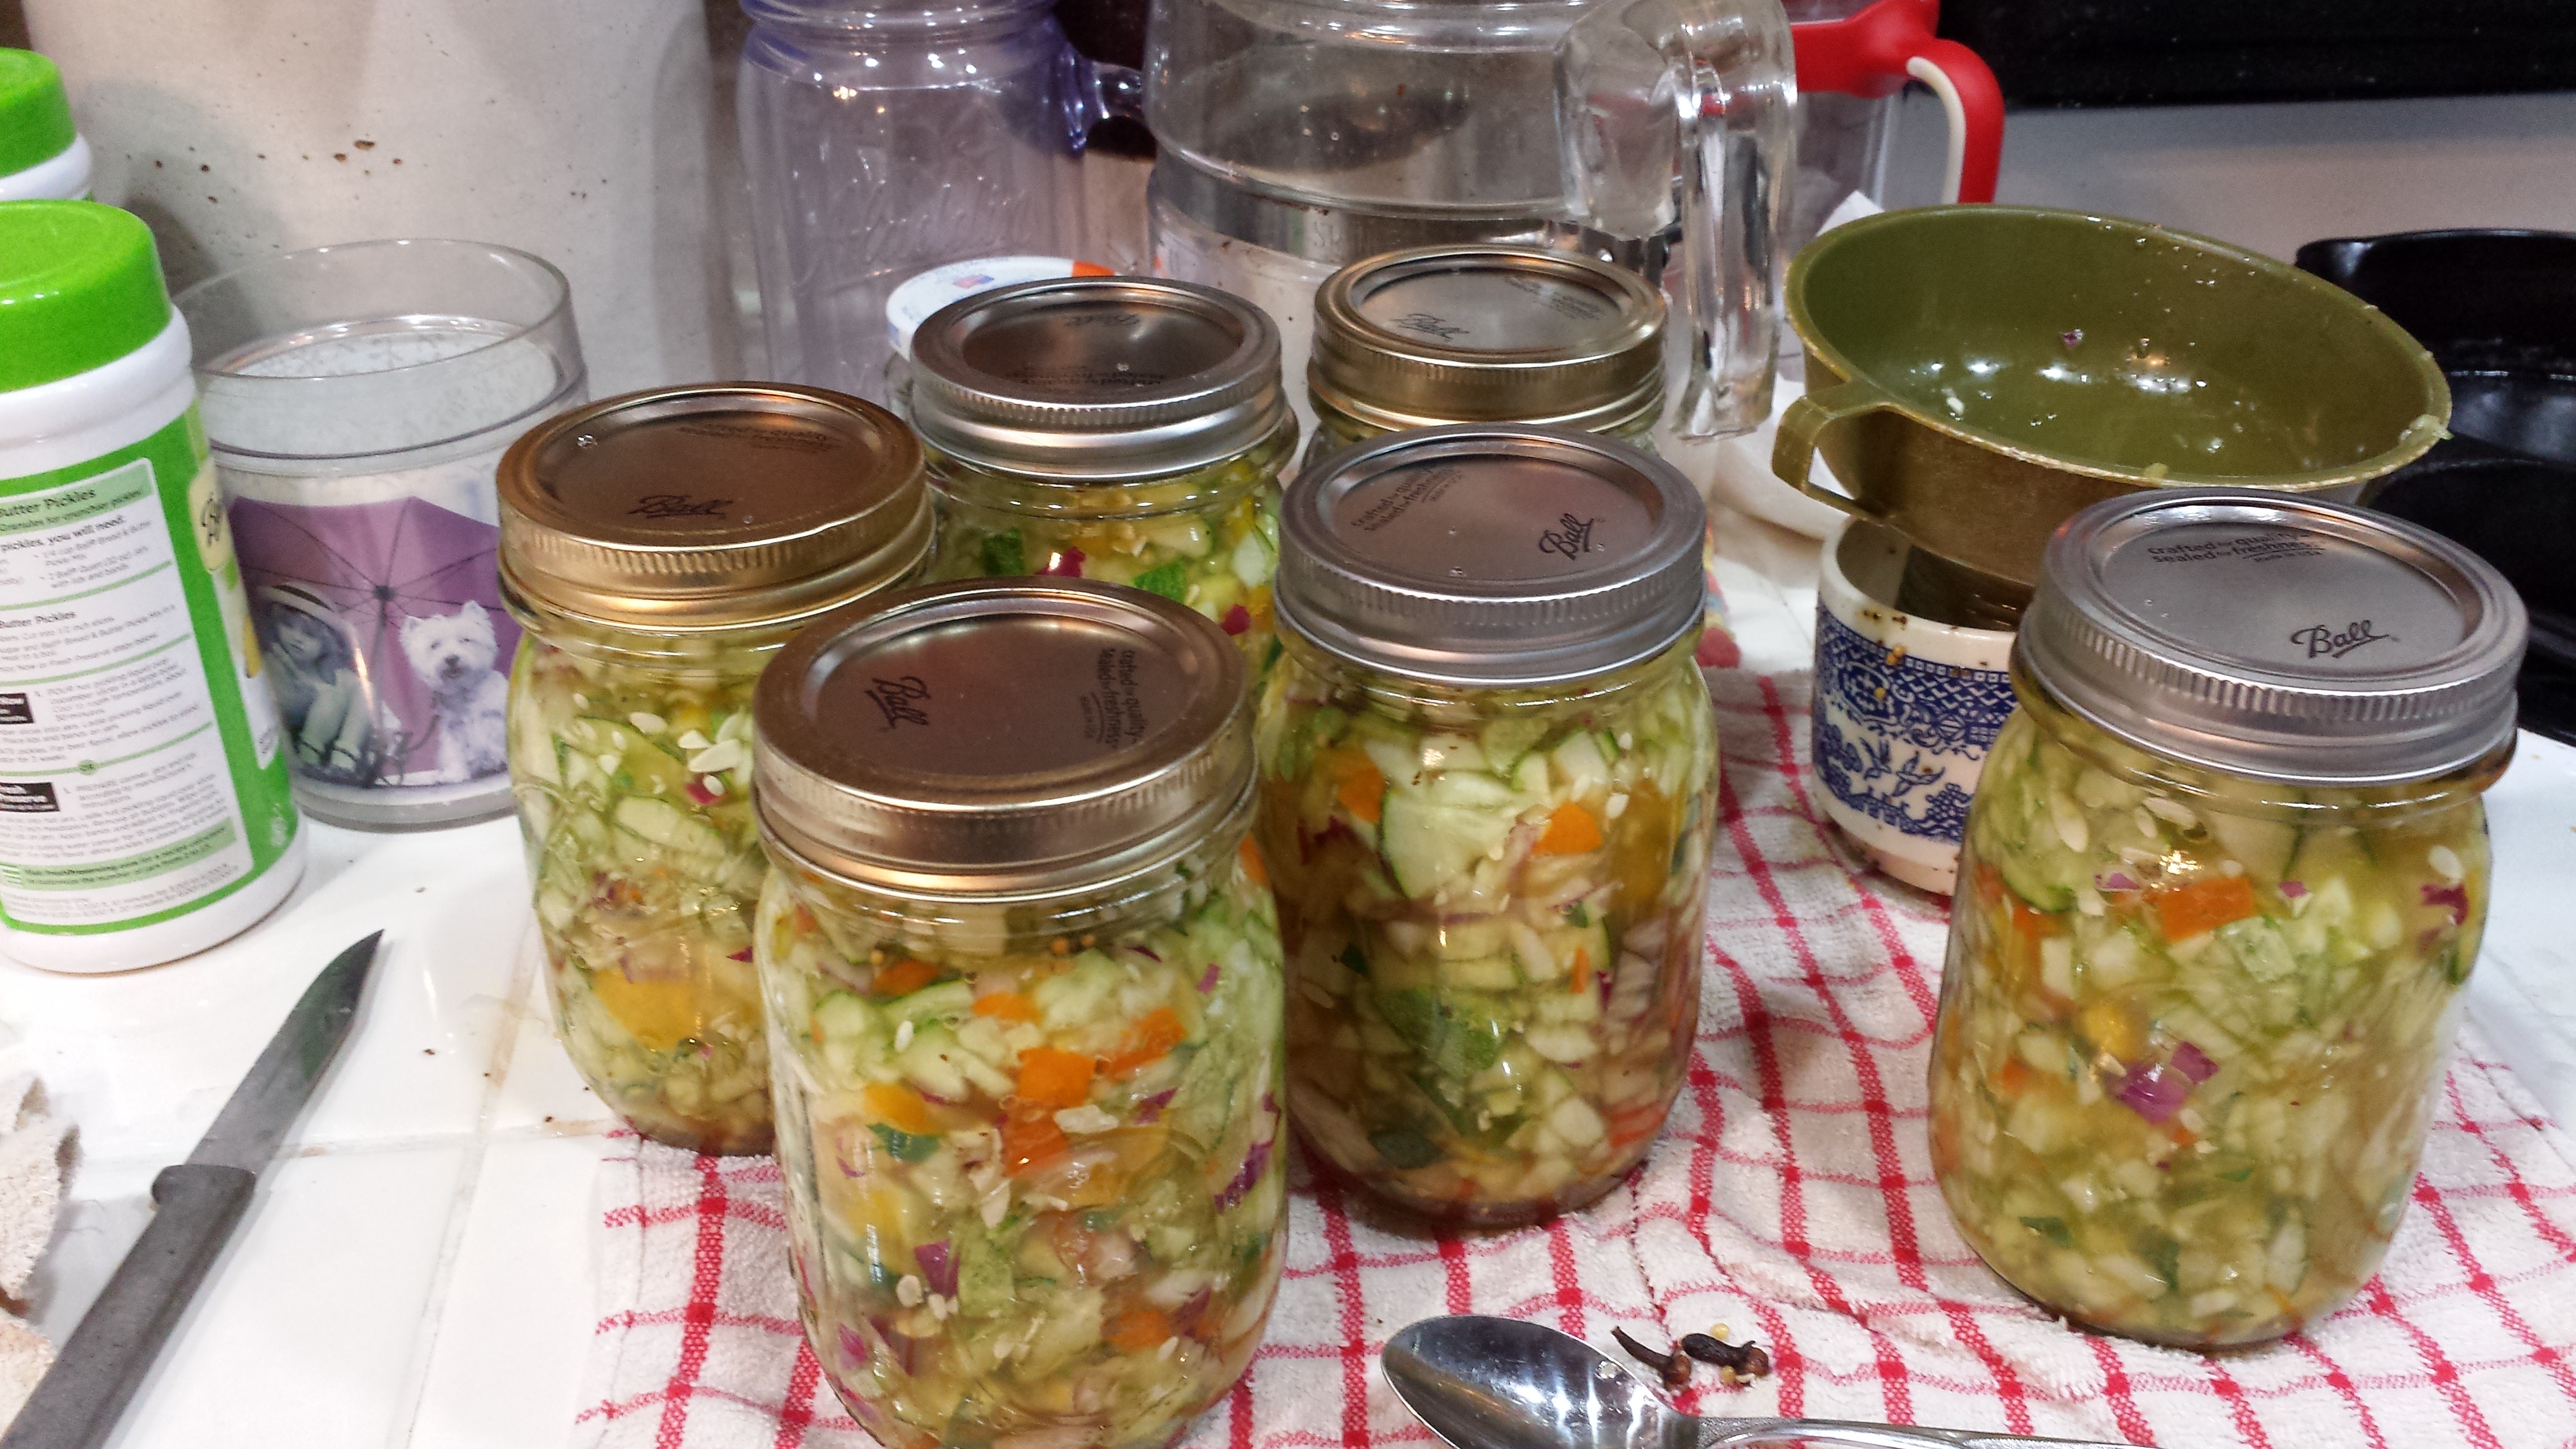
When the mixture comes to a full boil, ladle the beets into hot sterilized jars. Fill the jars with the liquid, leaving about ½” headspace. Remove the air bubbles, wipe the rims and seal. Waterbath both pints and quarts 30 minutes.

Read Full Post »

I bet I have a jillion pickle recipes – well, maybe not a jillion, but a hundred, anyway. My mother was an expert pickler (is that a word?) and I have all her recipes plus all the recipes in all the canning books I have (did I mention that I collect canning books?)

I have made 14 day pickles, 7 day pickles, crunchy green tomato pickles, bread and butter pickles, icicle pickles, no-name pickles and relishes of all kinds.

This year, however, I have been under a great time constraint due to a deadline for a writing assignment looming. So – I have had plenty of cucumbers to eat on, but no time to make pickles!

Today I decided to take a few hours to make pickles. A “few hours”? Yes, I cheated. And this is why (besides “time”).

Even though I have made all kinds of pickles, I’d never been able to get a dill pickle that was as good as good ole store-bought hamburger dills (which is what my husband loves on his burgers).

Last year I noticed these Ball Kosher Dill and Bread and Butter mixes at the grocery store.

20150627_224358

So I decided to try the Dill mix and WOW! It was delicious! This year I also bought the Bread and Butter mix, and loved it as well. It is so quick and easy that it absolutely feels like cheating!

So – here’s today’s adventure.

First we picked cucumbers.

20150627_182434

Then I scrubbed them and sliced a bowl full.

20150627_184352

20150627_190624

I missed getting a picture of the mixture, but just follow the directions on the label.

Next fill the jars, and waterbath for 15 minutes.

20150627_193717

20150627_193724


Next I decided to make some sweet pickle relish using the Bread and Butter mix (a recipe is merely a suggestion – right?)

20150627_202546

I used cucumbers, an orange and a yellow bell pepper, and a purple onion. I chopped them, filled jars and waterbathed.

20150627_203213

It’s pretty, whether it’s any good or not!

Next I did a turn of dill chunks and then threw all the extras in a bowl with all the leftover mix (dill and bread and butter together). That should be an interesting taste! HA!

20150627_210429

20150627_210720

All in all, not a bad job for 4 hours!

20150627_233729

They’ll really be good this winter, too!

Read Full Post »

I haven’t made any of these yet this year, but thought I’d post the recipe so you can be ready. Many folks have green tomatoes setting on now.

Green Tomato Pickles

(Sweet and Crunchy)

5-7 lbs green tomatoes

2 gal water

2-3 cups pickling lime

8 cups sugar (4 lb)

3 pt vinegar

1 tsp cloves (I like whole)

1 tsp ground cinnamon

1 tsp ground ginger

1 tsp ground all spice

1 tsp celery seed (ground or whole – depending on preference)

1 tsp ground mace

Choose green tomatoes that are about the size of a baseball. Wash, core and cut them in half top to bottom, then slice. This way they fit in the jar better. It’s easier to get them in large mouth jars, but regular jars work fine, too.

Soak the tomatoes in the lime and water in a crock or glass jar for 24 hours. The next day, drain them and soak in fresh water for 4 hours, changing the water every ½ hour.

Next, put them over into a Stainless Steel pot. Make a syrup of sugar, vinegar and spices. Bring the syrup to a boil, and then pour over the tomatoes in the SS pot. Let this stand over night (12-18 hours). The next morning, boil for 1 hour – until syrup is clear.

Seal in hot jars and waterbath for 15 minutes.

*NOTE* When processing pickles, to retain “crunchiness” let water come to a boil before putting jars into the canner. Start processing time from putting the jars into the canner. Make sure the water covers the jars by about 2 inches.

Read Full Post »

While most folks were lazing at the lake, the beach or in the mountains on this Memorial Day, I had another project. A couple of weeks ago a local grocery store had potatoes on sale – 2) 10lb bags for $5.00! Of course I grabbed that up!

Last week I picked up a double pk of chuck roast at Sams, and today I canned beef and potatoes.

Last night I chunked up the roasts and put them in the crockpot with minced garlic, dried rosemary, sea salt and crushed peppercorn medley.

This morning I picked the fat out of the meat, strained the broth and removed as much of the liquid fat as possible. Then I peeled and cubed 10 lbs of the potatoes, put everything in an 8 qt pot and let them come to a boil.

20150525_154658

I added a little more salt and pepper for the potatoes and restrained my desire to add lots and lots of onions! (I love onions in just about everything!) These jars of meat and potatoes will be mostly used for “starter” dishes. I’ll add a variety of vegetables for whatever I’m making.

I filled large mouth quart jars

20150525_161833

Wiped the rims with a paper towel dampened with vinegar, then pressured them for 90 minutes @ 11 lbs of pressure (the correct amount for our altitude)

20150525_183230

After the pressure came down, I opened the canner

20150525_194428


And let them sit a few minutes before I took them out.

20150525_200439And there you have it – 7 beautiful jars of beef and potatoes!

Check back in a few days for “Potatoes on Sale – Part Two”. I have a completely different plan for the second bag of potatoes!

Read Full Post »

« Newer Posts